Canon PIXMA TS8120 Easy Wireless Connect setup for Windows Computers
Wireless Setup – Windows Computers
To be able to use the PIXMA TS series printer to print or scan wirelessly on a Windows computer, the printer must first be connected to the Wireless Network and software drivers and applications installed on the computer. The instructions / screenshots below show the setup program steps when using the “Easy Wireless Connect” method to connect to the wireless network.
The setup process consists of 2 parts:
1. Starting Easy Wireless Connect on the printer, and
2. Downloading and running the setup file to install the drivers and software.
1. Start Easy Wireless Connect on the printer.
Prior to starting setup on the Computer, Smartphone or tablet device, start the Easy wireless connect on the printer. Then complete the setup on the computer or device.
See the procedure below to start the Easy Wireless connect.
- Make sure that the printer is turned on.
If the power is on, the POWER lamp (A) will be lit.
.gif "PIXMA TS8120 Easy Wireless")
(Appears in a new window)
If the printer is performing cleaning, print head alignment, or other processes
Wait for the process to finish, before starting setup.
- If
.gif) is displayed on the left side of the screen, tap .
is displayed on the left side of the screen, tap .
If an error screen is displayed, tap OK, then tap
..gif)
- Tap
.gif) (B).
(B).
.gif)
- Tap LAN settings.
.gif)
- Tap Wireless LAN.
.gif)
- Tap Wireless LAN setup.
.gif)
- Tap Easy wireless connect.
.gif)
- Tap Yes.
.gif)
- When the printer preparation is complete, the screen below appears.
Return to the setup application screen and proceed with the setup.
.gif)
2. Download and run the setup file.*
Read the information carefully taking note how to run the setup file if setup does not start automatically. Then click the “Download” button.
*Setup can also be performed by using the Setup CD-ROM
Start setup.
- Select Start Setup

- Select appropriate region and click Next

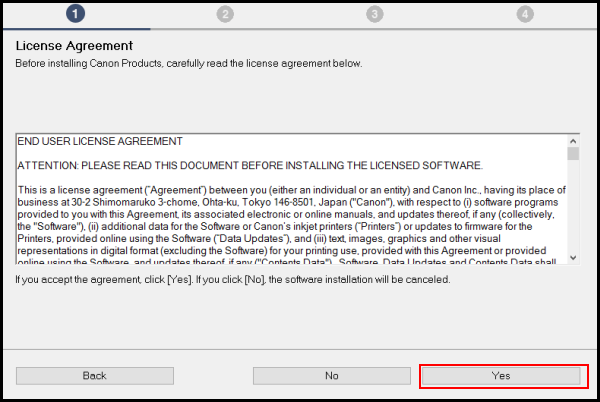
- Select Yes on the License Agreement.
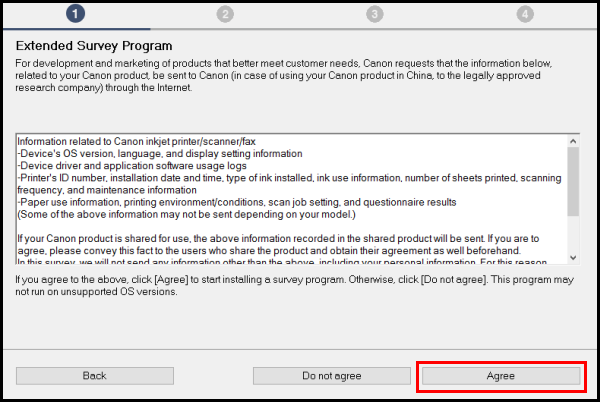
- Select Agree or Do Not Agree to the Survey.
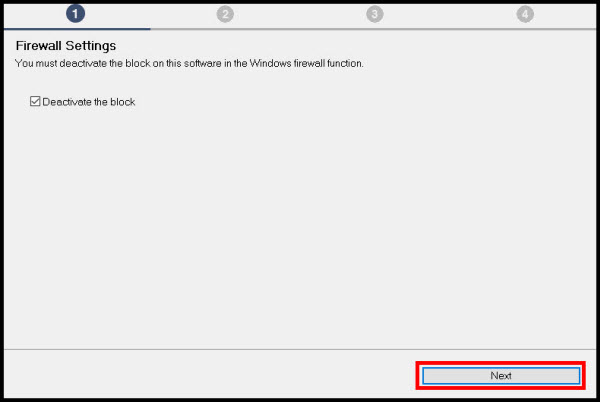
- Select Next
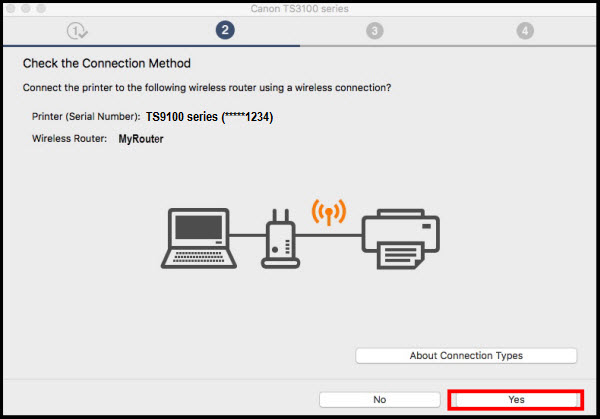
- Select Yes on the Connection Method.
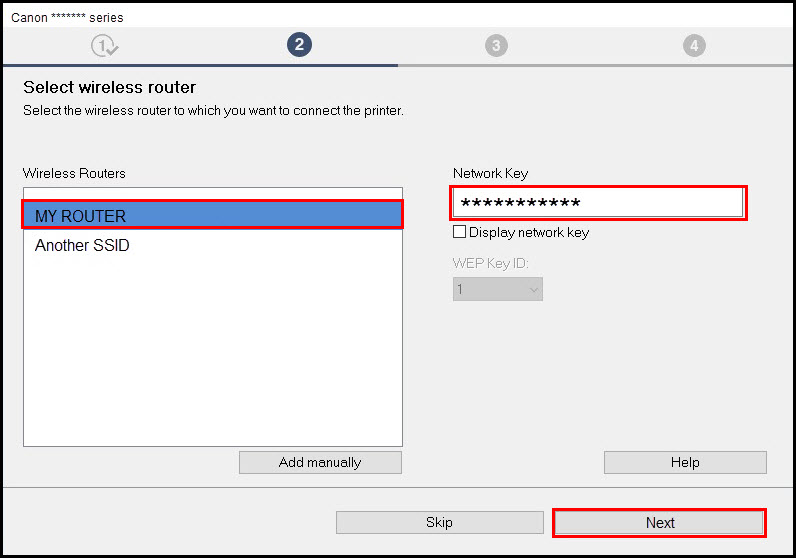
- Setup continues. If the *Select wireless router screen (below) appears, select the wireless router to connect to the printer, enter the Network Key (password) and click Next.* The router being used and its network settings determines whether or not this screen appears
- Information appears

- Network Connection completed. Click Next

- Head Alignment and Test Print screens appear next. These can be performed or not. If you choose to perform these, carefully follow the on-screen instructions.
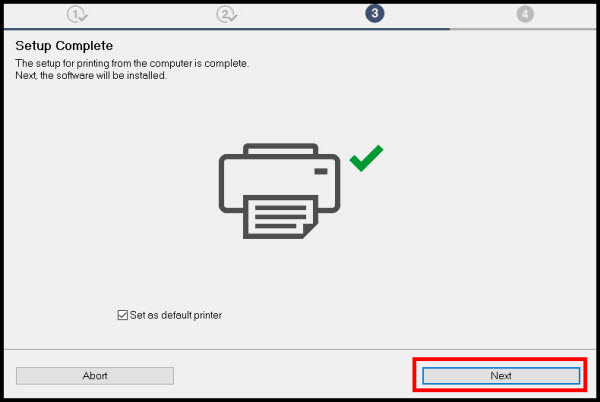
- Setup complete. Click Next
- Select any optional application software desired (Defaults, Clear All or select by checkbox). Click Next

- Click Next
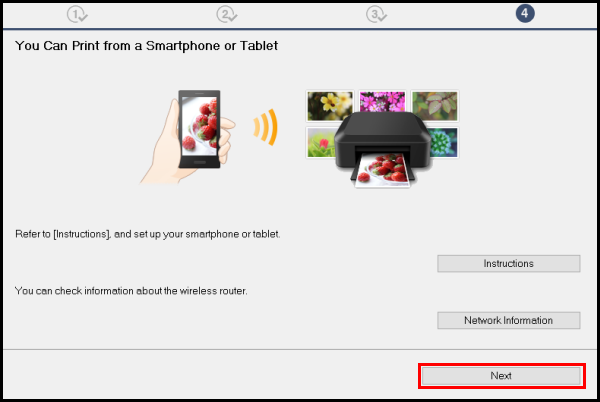
- Click Next or Skip

- Click Exit.

